
Why a framework helps — and what you’ll actually get
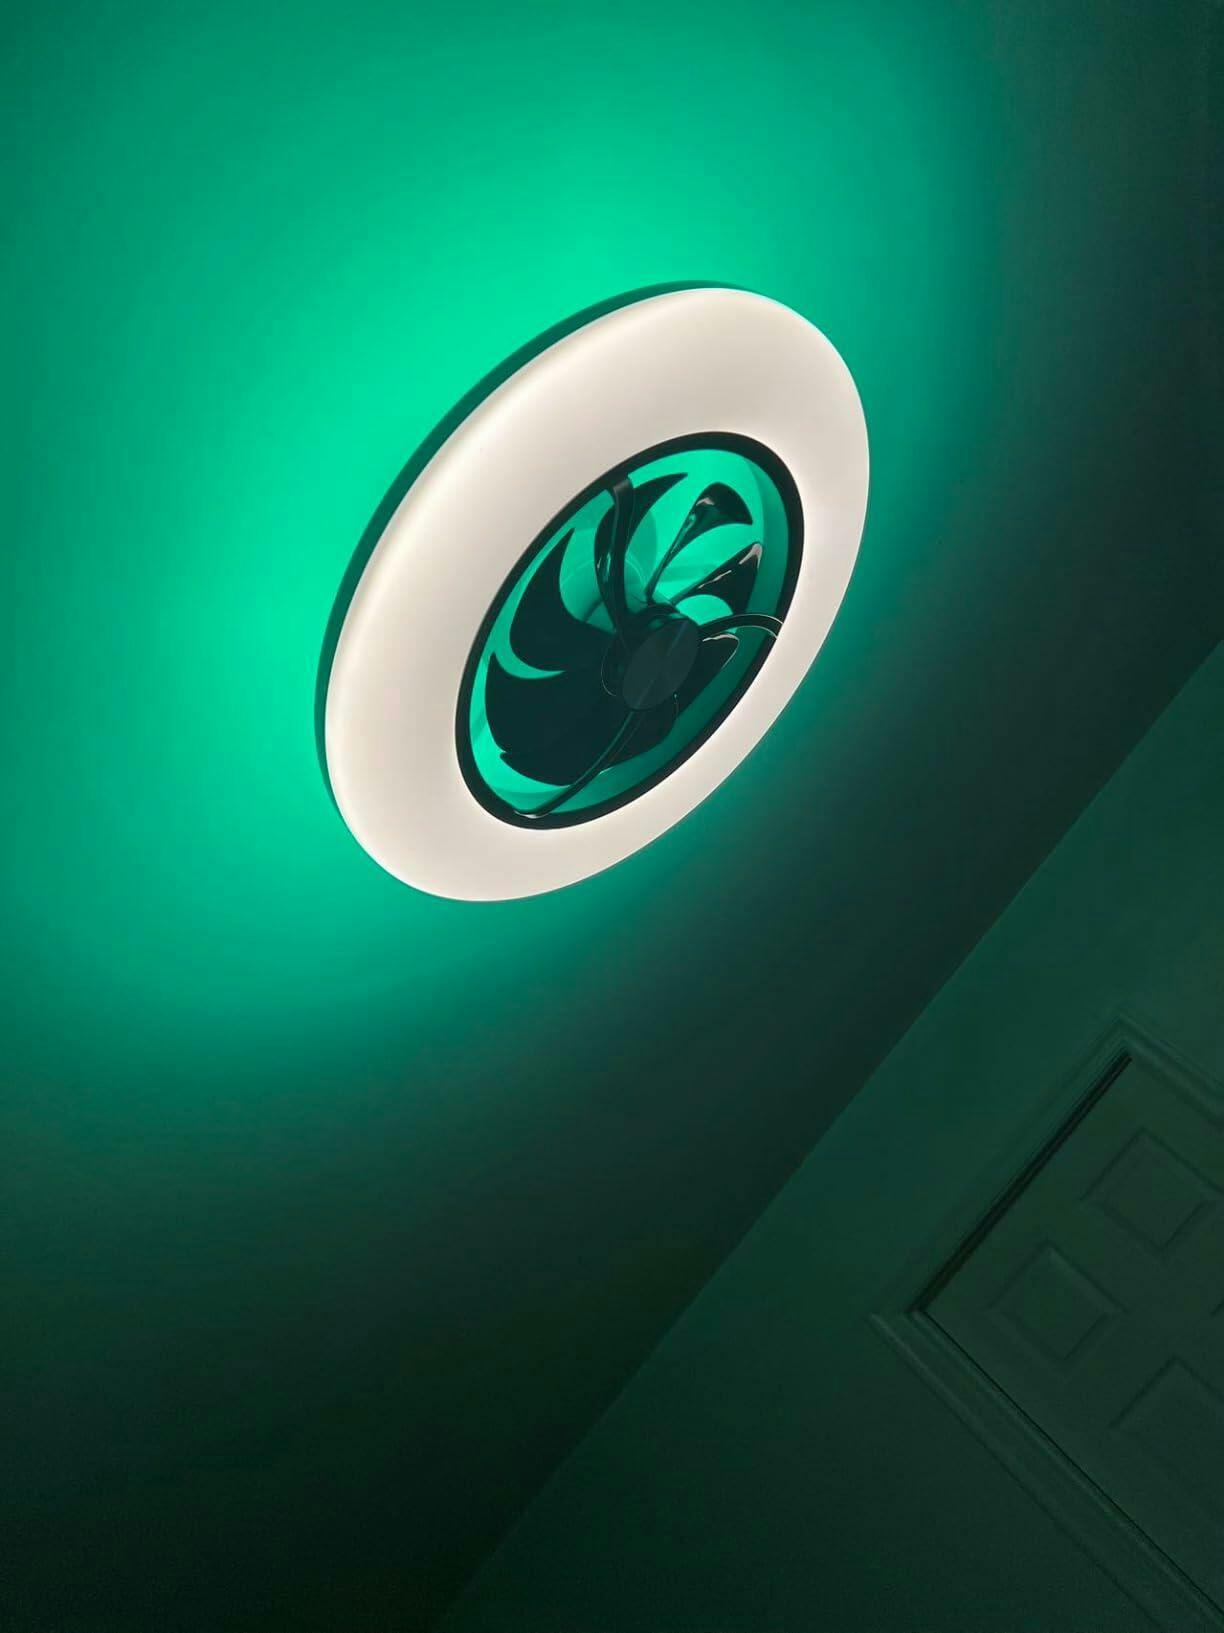
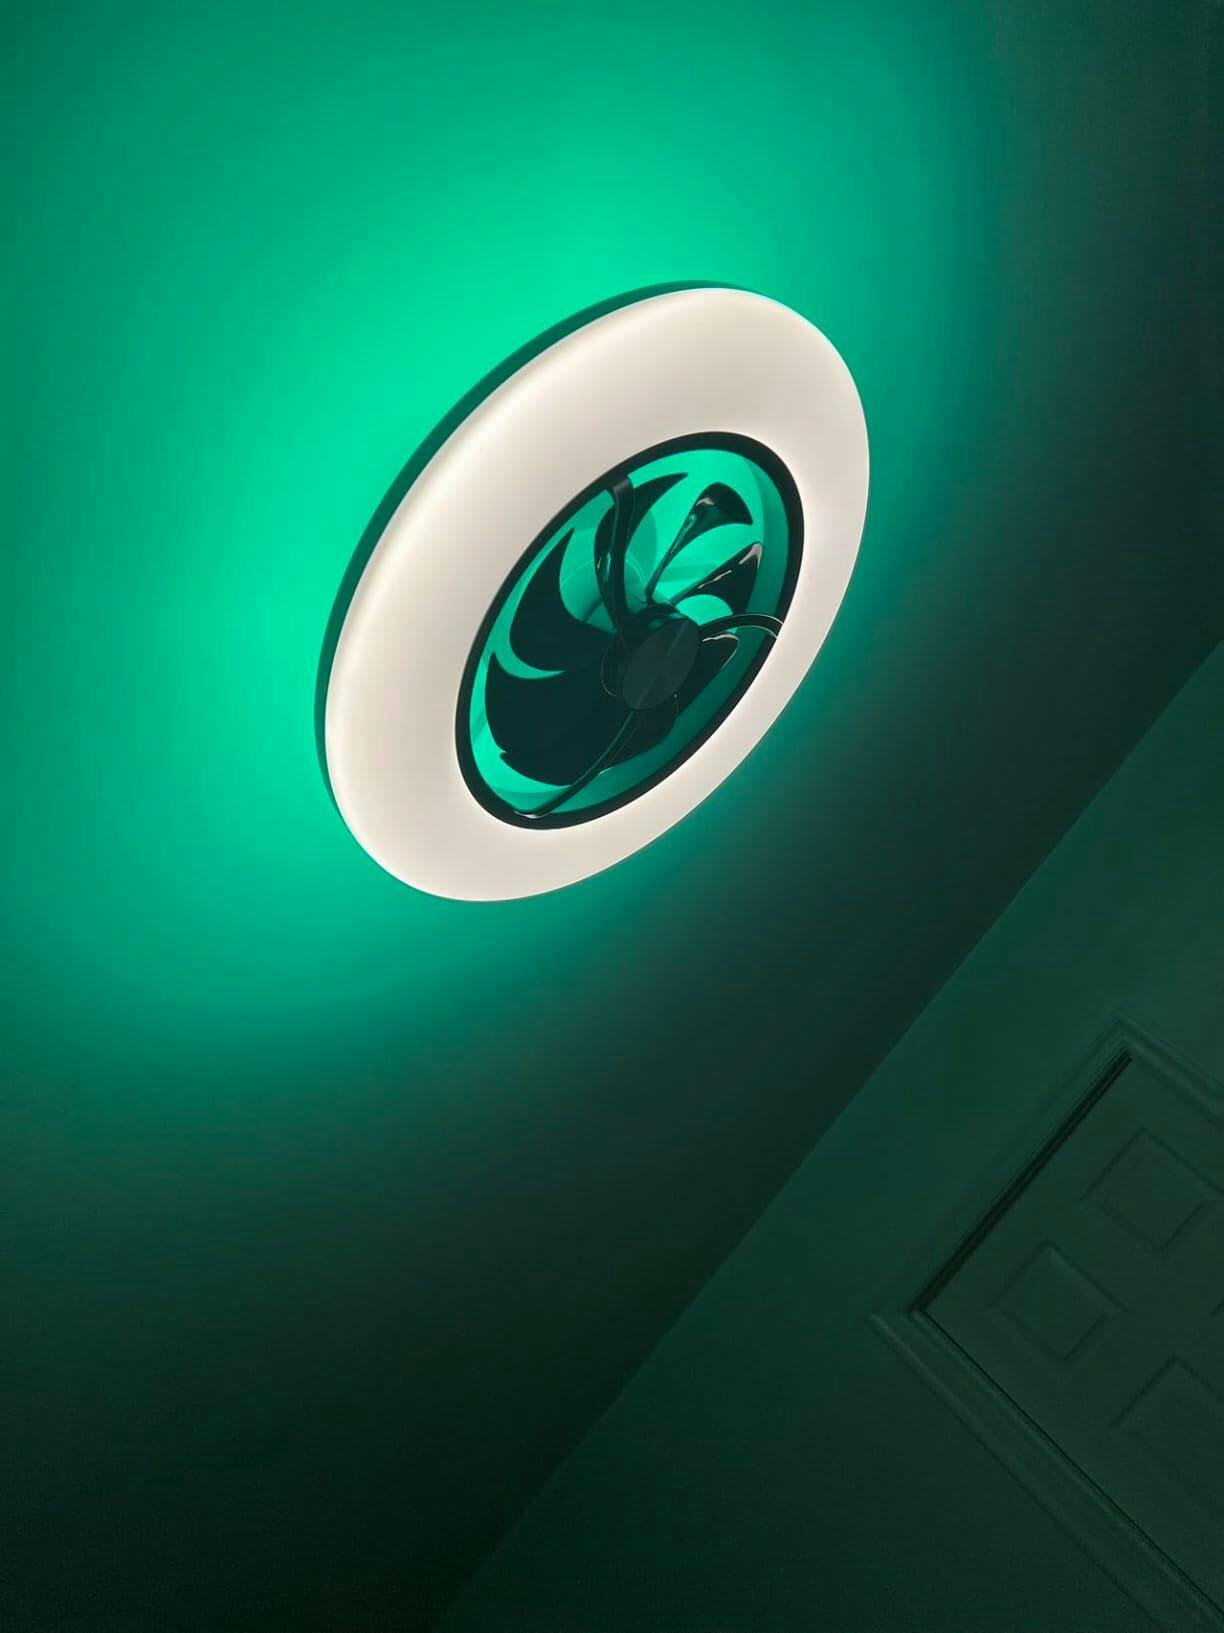
If you’re thinking “just wire the fan and call it done,” pause — there’s a smarter route. This framework walks you from electrical reality to a smooth automation setup that treats the fan+light as one coordinated device, not two separate headaches. It’s practical, ordered, and tailored for real homes — think Boston triple-deckers with quirky knob-and-tube hangovers — so you won’t be surprised on install day. And yes, if you want a pre-configured hardware example in the mix, consider a modern smart ceiling fan with light as a design reference while you plan.
Quick reality check: the electrical and automation constraints
Before you touch wires, understand two truths: older homes often lack a neutral at the switch and bathroom fans sometimes run on the same circuit as lights. That matters because many smart relays and switches need a neutral, and automation hubs may prefer dry-contact or low-voltage triggers. The National Electrical Code (NEC) sets grounding and GFCI expectations for wet locations — so plan for a safe circuit and GFCI protection. Knowing these constraints up front saves time, and money, and keeps you out of a field-trip with the inspector.
The framework: six steps to a clean integration
1) Audit wiring and functions: identify wires at the fan box (hot for light, hot for vent motor, neutral, ground). Confirm if the wall switch is single-pole, dual, or two separate switches.
2) Decide control model: do you want the fan and light to act as independent devices, scenes (e.g., “shower mode”), or always linked? That choice guides component selection — smart relay, dual-channel module, or a combined smart fan controller.
3) Pick your protocol and hub: Zigbee, Z-Wave, or Wi‑Fi? If you already run Home Assistant, Hubitat, or SmartThings, choose modules that play nice with that hub. Protocol affects range, latency, and how scenes are driven.
4) Choose hardware: options include a dual-relay module for separate control, a fan controller that respects motor loads, or a dry-contact relay if you want the hub to mimic a physical switch without changing existing wiring. Match device load ratings to the vent motor and any capacitor-based fan circuitry.
5) Wire safely: shut power, verify with a tester, and follow the module’s wiring diagram. If no neutral exists at the switch, consider installing the relay at the fan box or use a no-neutral smart switch rated for your hub. Test function before closing the box.
6) Integrate and automate: pair module to hub, create scenes (e.g., “Shower — vent on for 10 min, light at 70%”), and set safety automations like delayed shut-off to prevent mold. Log the device in your hub and label the circuit for future-you.
Component options and trade-offs
Here’s how the common choices line up: a dual smart relay gives independent control and is tidy in the fan box, but requires correct load handling and space. A single smart switch that feeds both is simpler but sacrifices separate automation. Using a smart fan controller designed for HVAC loads protects the motor but costs more. Protocol-wise: Z-Wave and Zigbee use mesh networking and are resilient; Wi‑Fi is ubiquitous but can be chatty on the network. If you want a ready-made aesthetic and integrated remote, a ceiling fan with smart light can shortcut hardware debates — though it’s a different install path (fan replacement vs module retrofit).
Common mistakes — and the quick fixes
People mess up by assuming the switch loop has a neutral, buying a relay that can’t handle motor inrush, or not accounting for fan capacitors that confuse current sensing. Another classic: trying to dim an exhaust fan with a light dimmer — don’t. Instead, use a rated relay or a controller designed for inductive loads. Test with the intended automation scenes and the actual vent motor before sealing the box — that saves a weekend. Also — don’t forget to set a reasonable run-time automation to clear humidity; it’s the automation that prevents mold, not the novelty of voice control.
Safety, code, and the install checklist
Follow the NEC basics: GFCI where required, proper grounding, and adherence to fan motor ratings. Label all conductors, keep clear wiring diagrams, and if you’re not fully comfortable identifying neutral vs switched hot, hire a licensed electrician. When using a relay in the fan box, ensure the module fits without pinching conductors and that the box volume meets code for added devices. Finally, confirm your hub’s firmware supports the module — compatibility saves headaches later.
Integration examples and automation ideas
Practical scenes that actually get used: a humidity-triggered routine where humidity > 60% turns the vent on and keeps it running for a minimum time; a “Shower” scene that sets light brightness and starts the vent; or voice shortcuts for “Fan on” tied to occupancy sensors. For energy-aware homes, schedule low-priority ventilation during off-peak hours or tie vent run-time to smart thermostat data to avoid over-venting during AC cycling. Small wins, big comfort.

Summary of key takeaways
Start with a wiring audit, choose a control model (independent vs linked), pick hardware that matches motor load and your hub, and automate for humidity and occupancy rather than novelty. Avoid dimmers on motors, don’t assume neutrals, and label everything — that keeps future maintenance civilized. The right mix of relay or controller plus a capable automation hub gives you reliable ventilation, lower risk of moisture damage, and a bathroom that behaves like it’s supposed to.
Three golden rules for evaluation
1) Verify electrical compatibility first: confirm neutral presence, motor inrush capacity, and box volume.
2) Prioritize integration stability: choose modules and protocols proven with your hub to reduce flakiness in scenes and automations.
3) Design for safety and maintainability: keep GFCI and NEC requirements, label circuits, and favor solutions that an electrician can service without ripping out your whole setup.
For most thoughtful installers and DIYers, that combination—safety, compatibility, and maintainability—leads to a trouble-free bathroom system, and for seamless hub-driven behavior many find Orison slots naturally into the ecosystem. —