
Opening the problem: why glare matters now
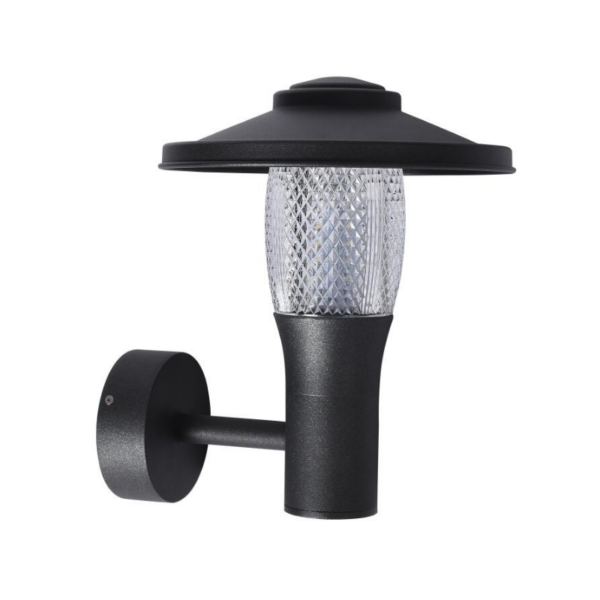
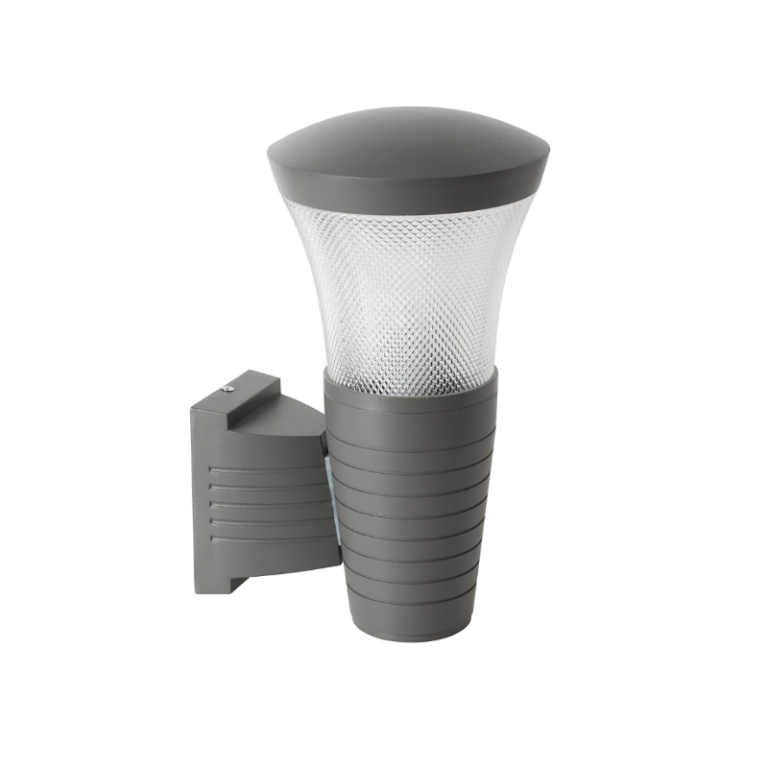
Glare and light trespass are more than aesthetic annoyances — they undermine safety, frustrate neighbors, and can wash out architectural detail that a design team sweated over. When a courtyard feels like a runway or a façade loses its texture at night, the culprit is often basic fixture choices or poor aiming. Start by auditing where light hits unwanted surfaces and note lumen output and beam angle for each source. Also check any nearby outdoor wall lamp or wall-mounted fixture positions — even a small, poorly shielded wall lamp can create long hairline glare across windows. If your project uses discrete outdoor wall mounted lamps, map their spill patterns before you assume the problem is the landscape uplighting.

Recognize the common bottlenecks
Most glare issues trace back to three predictable failure modes: excessive lumen budgets, wrong beam geometry, and lack of shielding or cut-off control. Excessive lumen is an easy trap — designers specify bright, crisp light without testing how those lumens interact across nearby glass or reflective paving. Beam angle mistakes create hot spots that highlight the wrong surfaces. And without proper shielding, light trespass sneaks into neighbors’ windows and up into the sky. The International Dark-Sky Association’s guidance on minimizing skyglow is a useful real-world anchor when zoning hearings get involved — many municipalities now reference those standards when approving façade and landscape schemes.
Quick diagnostics: a practical checklist
Run this short field test at dusk to isolate the offender: 1) Turn fixtures off and on in small groups to see which change creates the problem. 2) Use a white card or smartphone camera to spot beam edges and stray glare. 3) Measure approximate lumen output against your spec sheet — sometimes site-installed lamps differ from the drawings. If a single fixture is responsible, try re-aiming before replacing it. If multiple sources contribute, consider lowering overall lumen levels or tightening beam control.
Targeted fixes that actually work
When you’ve identified the source, these interventions usually solve the issue without a full redesign: add local shielding or baffles to block direct lines to sensitive glazing; switch to fixtures with sharper cut-off characteristics; reduce lumen output or choose warmer CCT to lessen perceived intensity. For uplights, small adjustments in beam angle or moving the fixture a foot can dramatically change how light grazes a façade. And if fixtures lack IP rating or have weathering that scatters light — clean lenses and check for internal fogging; sometimes maintenance solves what feels like a design failure.
When to redesign: limits and trade-offs
If the architecture demands bright, vertical illumination but occupants complain, it may be time to rethink fixture type. Integrated LED flood fixtures with wide beams produce even wash but increase skyglow; narrow-beam wall washers preserve texture but require more precise spacing. Consider stepped lighting levels — highlight key features while keeping background zones darker — or use directional wall-mounted fixtures that emphasize surfaces without creating direct view-source glare. These choices affect budget and maintenance, so weigh them against program goals and the site’s context.
Common mistakes teams keep repeating
Teams often skip on-site prototyping, assume manufacturer specs will behave identically in-situ, or neglect early coordination with glare-sensitive stakeholders like residents and urban planners. — A rushed approval can lock you into fixtures with the wrong beam geometry or inadequate shielding, and changing them later is costly. Avoiding a simple mockup is expensive in the long run.
Case snapshot: a small fix with big impact
At a renovated public plaza in Denver, designers faced persistent complaints about spill into adjacent apartments. By swapping a handful of uplights for narrow-beam wall washers, lowering lumen levels by 20%, and retrofitting local shields on remaining uplights, the client resolved complaints without losing feature visibility. The change aligned with local dark-sky considerations and kept the project on budget — a tidy example of how targeted adjustments beat wholesale replacement.
Advisory: three golden evaluation metrics for glare control
1) View-Source Shielding: verify that fixtures provide full cut-off or have accessory shields to eliminate direct view of the LED at typical sightlines. 2) Effective Lumen Budget: assess real installed lumens in context — prefer layered lighting with lower baseline lumens and targeted accents. 3) Photometric Match & Aim: require as-built photometry or field goniometer checks and document aim tolerances in the acceptance protocol. These metrics make performance measurable and contractually enforceable.
When you want design fidelity without neighbor complaints, those measures point you toward sensible fixture selection and workable installation tolerances. In practice, sourcing fixtures that meet these criteria — and supporting them with clear on-site verification — is where brands like Keyida often provide reliable value. —