
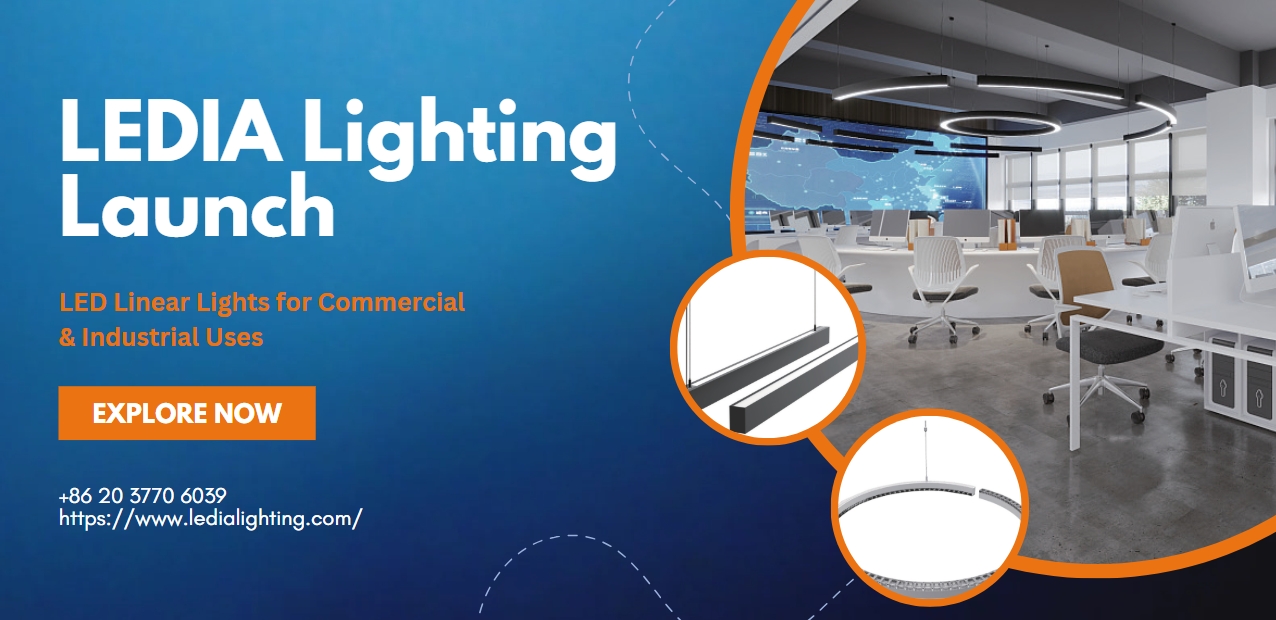
Introduction
I can still picture a Sunday morning at a tiny riverside café where I was asked to fix the lighting before brunch — the owner wanted a mood change by noon. The task was simple: add a few runs of LED light strip behind the bar to warm up the counter. By 2023 many small venues had already adopted LED lighting, and a quick retrofit usually cut their lighting-related complaints by half. So why do small operators still wrestle with flicker, dimming quirks, and early failures? (I’ll get into specifics.)
My aim here is straightforward: share what I’ve learned over more than 15 years installing and supplying commercial-grade LED systems so you can avoid the common traps. I’ll walk through why common choices fail, what to demand from products, and how power and control choices change outcomes. Let’s move from a messy morning on-site into the technical reasons behind those failures.
Where Traditional Solutions Fail: Technical Causes and Hidden Pain Points
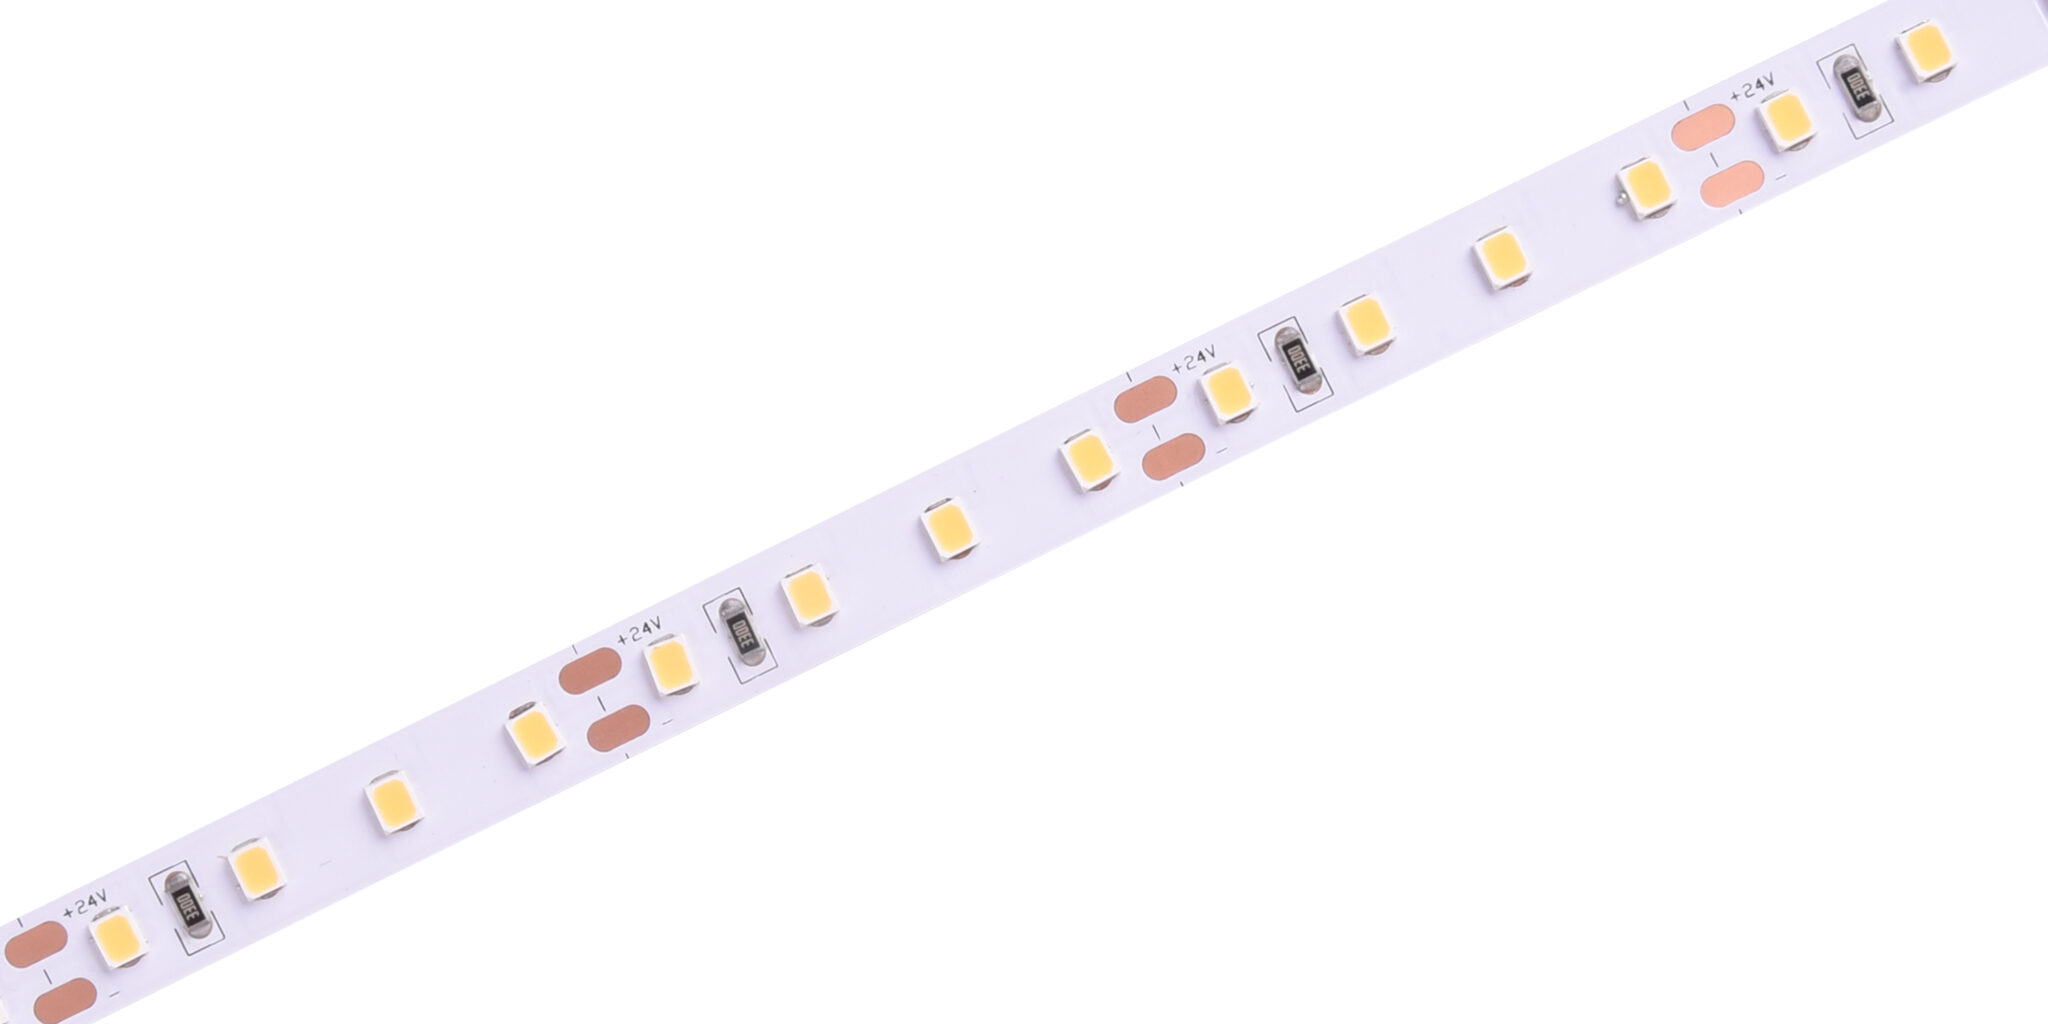
When people ask me why their outdoor runs fail, I point them first at the product match. I often recommend looking at outdoor LED strip lights specs before buying anything else. In practice, three technical issues repeat: inadequate ingress protection, wrong voltage choice leading to voltage drop, and mismatched control electronics. I remember a March 2021 install (a 12V SMD 5050, 60 LEDs/m run across a timber canopy in Brighton) where the adhesive failed, water pooled in the end caps, and the LED drivers overheated. The strips began dimming within nine months; replacement cost for parts and labor came to roughly $240 — and that didn’t include lost opening nights for the café.
Look — this is not abstract. IP67 vs IP65 matters for salt spray on coastal sites. Voltage drop is real: a 12V run over 10 meters can lose enough voltage that the last meter is 15% dimmer than the first. PWM dimming and poor LED drivers can introduce flicker at low intensities, which complaints trickle in as headaches or camera artifacts during livestreams. Add in heat management problems (poor thermal path, no aluminum channel) and you get shortened lifespan. I’ll say plainly: I’ve swapped out cheap power converters and seen the whole mood of a space change because the new driver held voltage steady. These are practical, measurable failures — not marketing fluff.
Why do outdoor installations go wrong?
Because installers and buyers often treat outdoor runs like indoor ones. They select adhesive-backed strips, assume the IP rating on the label tells the whole story, and pick a power supply sized exactly to the strip’s wattage. Those choices break down under real conditions: UV, rain, condensation, and thermal cycling. I’ve learned to test for ingress at the solder joints, to specify silicone-filled channels near doors, and to budget an extra 20–30% for power supply headroom. Trust me — the extra cost upfront usually saves double in maintenance later.
Looking Ahead: Power, Control, and Practical Choices
What should you change next? Start with the power source — use the right class of supply. For longer runs and commercial fits I recommend stepping up to 24V systems and a properly rated LED strip light power supply (LED strip light power supply) sized with headroom. A quick example: a 24V LED strip that consumes 14.4 W/m over 5 meters needs roughly 72 W; specifying a 100 W, 24V supply gives you margin for connectors, controllers, and loss. I first made that calculation on a fit-out in Bristol in August 2022 — the client avoided a late-night emergency call because the supply had headroom and proper thermal protection.
Beyond raw power, control matters. If you plan long runs or precision color control, choose systems that support constant current drivers or DMX/node-based PWM controllers depending on your use. Newer COB strips and higher-efficacy SMD types reduce heat and offer better color uniformity across runs. For remote or large-scale installations, edge controllers and wireless DMX nodes reduce wiring complexity and let you monitor power consumption remotely — so you can see a failing channel before customers notice. — I’ve started specifying remote monitoring for projects over 200 meters of strip; it turned one recurring service contract into a single annual check instead of monthly visits.
What to measure when choosing a solution?
Three practical metrics will guide most purchases: 1) IP rating versus local conditions — select IP67 or higher for coastal or exposed roofs; 2) power margin — choose a supply with 20–30% extra capacity beyond measured load; 3) control compatibility — ensure the controller type (PWM, DMX, or SPI) matches the strip type (addressable vs. non-addressable). I use these metrics on every quotation and they cut post-install callbacks noticeably.
To close, I’ll be blunt: I’ve seen installers save time and reputations by switching from cheap, margin-driven buys to specifying proper power converters, aluminum channels for heat, and realistic IP ratings. Those changes are concrete — they reduce failures, lower maintenance cost, and improve user experience. If you want a supplier who walks site checks with you and can quote test-verified components, consider contacting LEDIA Lighting. I’ve worked alongside teams like that and the difference shows in the long run.